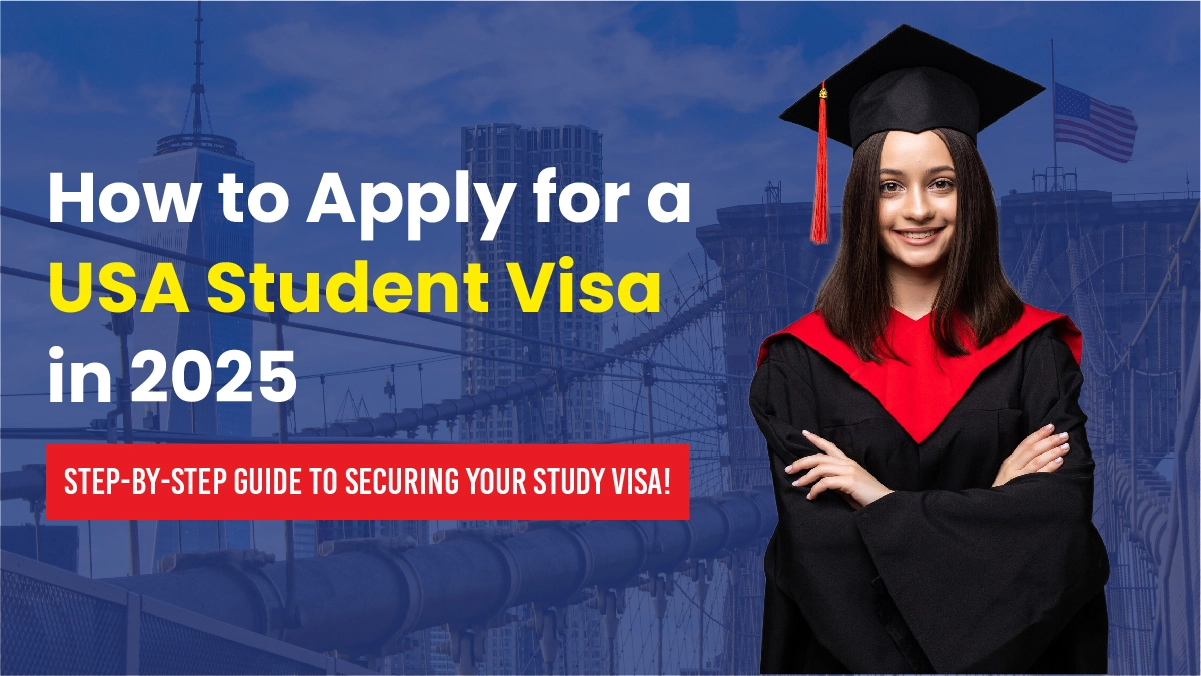
Applying for a USA Student Visa is your first step toward making that dream a reality. The process might seem overwhelming, but with the right preparation, you can handle it confidently. You’ll need to gather essential documents, prove financial stability, and prepare for an interview.
Many students face challenges like incomplete paperwork, weak DS-160 responses, or issues with financial documentation. Don’t let these hurdles stop you. By staying organized and informed, you can successfully apply for a US Student Visa and start your journey toward an exciting academic future.
Begin your application early to collect needed papers and avoid stress.
Make sure you have a valid I-20 form from an approved school before applying.
Practice for your visa interview by answering common questions and dressing nicely.
Keep your money documents ready to show you can pay for school and living costs.
If your visa is denied, check why, fix the problems, and apply again with better proof.
The F-1 visa is the most common type of U.S. student visa. It’s designed for students pursuing full-time academic programs at universities, colleges, high schools, or language training institutions. If you’re planning to study in the U.S. for an extended period, this visa is your go-to option. F-1 visa holders can also take annual vacations and work part-time on campus under specific conditions.
If you’re interested in vocational or non-academic programs, the M-1 visa is the right fit. This visa is for students enrolled in technical or trade schools. Unlike the F-1 visa, M-1 students cannot take annual vacations or work during their studies. However, it still offers access to specialized training programs in the U.S.
To qualify for a U.S. student visa, you need to meet specific requirements.
Here’s what you’ll need:
Your school will issue the I-20 form after you’re accepted. This document is essential for your visa application. You’ll also need to register with SEVIS (Student and Exchange Visitor Information System) and pay the SEVIS fee.
Make sure your passport is valid for at least six months beyond your intended stay. You’ll also need a recent passport-sized photo that meets U.S. visa requirements.
Bring your transcripts, diplomas, and standardized test scores (like SAT, GRE, or GMAT). These documents prove your academic qualifications.
You must demonstrate financial stability. This includes:
| Type of Document | Description |
|---|---|
| Bank Statements | Recent statements showing funds for at least the first year of study. |
| Scholarship or Grant Letters | Official letters confirming the amount and duration of the award. |
| Loan Approval Documents | Letters from banks indicating the approved loan amount. |
| Sponsorship Letters | Commitment letters from sponsors with proof of financial ability. |
Having these documents ready will make your application process smoother.
Paying the SEVIS fee is one of the first steps in your visa application process.
Here’s how you can do it:
Make sure the SEVIS ID on your receipt matches the one on your Form I-20. This small detail can save you from unnecessary delays.
Once you’ve paid the SEVIS fee, you’ll receive a confirmation receipt. Print this receipt and keep it safe. You’ll need it during your visa interview and when you travel to the U.S. If you don’t receive the receipt immediately, check your email or payment status online.
Tip: Avoid mailing your payment if possible. It can cause delays. Paying online is faster and more reliable.
The DS-160 form is your official visa application form. You can access it on the U.S. Department of State’s Consular Electronic Application Center (CEAC) website. Fill it out carefully, as errors can lead to delays or even rejection.
Here’s what you’ll need:
Take your time to complete the form. Save your progress frequently to avoid losing data.
Mistakes on the DS-160 form can complicate your visa application process. Follow these tips to avoid common errors:
Note: Once you submit the DS-160 form, you can’t make changes. If you spot an error later, you’ll need to fill out a new form.
After completing the DS-160 form, you’ll need to schedule your visa interview.
Here’s how to secure an appointment:
Be persistent and patient. Interview slots can fill up quickly, especially during peak seasons.
To confirm your interview appointment, you’ll need to pay the visa application fee. This fee is non-refundable, so make sure all your details are correct before paying. Keep the payment receipt as proof.
Tip: Some universities offer resources to help students with the visa application process. Don’t hesitate to reach out for assistance.
When you attend your visa interview, having the right documents can make all the difference.
Here’s a checklist to help you stay on track:
Keep these documents in a folder or organizer. This will help you stay calm and focused during the interview.
Sometimes, the consular officer might ask for extra documents. Be prepared with the following:
Tip: Organize all your documents in advance. This shows you’re serious about your application and helps avoid last-minute stress.
By preparing these documents, you’ll feel more confident and ready to complete a US student visa application successfully.
The visa interview is a critical step in your journey to obtaining a U.S. student visa. This is your chance to prove your genuine intent to study in the U.S. and demonstrate that you meet all the requirements for an F1 visa. Let’s break down what you can expect and how to prepare.
During the interview, the consular officer will ask questions to understand your academic goals and financial stability. Be ready to answer:
You might also face questions about your academic background, such as your test scores or how you’ll adapt to cultural differences.
Preparation is key to acing your visa interview. Here’s how you can make a strong impression:
Tip: Consular officers want to see that you’re serious about your studies and plan to return home after completing your program.
Your appearance matters. Dress professionally to show you’re taking the process seriously.
Non-verbal cues can say a lot about you.
Note: Arriving on time and being comfortable in your attire will help you feel more confident.
Financial stability is a major focus during the interview. Be prepared to present documents like bank statements, scholarship letters, or sponsorship proof. Explain how you’ll cover tuition and living expenses without hesitation.
You must articulate why you chose your program and how it aligns with your career goals. For example, explain how studying in the U.S. will provide unique opportunities unavailable in your home country. Highlight your intent to return home after completing your studies.
Tip: Consular officers view applicants as intending immigrants unless proven otherwise. Show strong ties to your home country, like family, property, or job prospects, to strengthen your case.
By preparing thoroughly and presenting yourself professionally, you’ll increase your chances of successfully navigating the visa interview process. Remember, this is your opportunity to showcase your commitment to studying in the U.S. and achieving your academic dreams.
Once you’ve completed your visa interview, there are a few important steps to finalize your journey to the U.S. Let’s walk through what you need to do next.
After your visa interview, you can track the status of your application online. Visit the U.S. Department of State’s CEAC website and enter your DS-160 barcode number. This will show whether your visa has been approved, is under administrative processing, or requires further action.
Tip: If your visa is under administrative processing, don’t panic. This is common and usually resolves within a few weeks.
Once your visa is approved, you’ll receive instructions on how to collect your passport. Most U.S. embassies and consulates use a courier service to deliver passports. Double-check that all details on your visa are correct, including your name, SEVIS ID, and visa type (e.g., F1 visa). Keep your passport and Form I-20 secure, as you’ll need them for travel.
Plan your arrival date carefully. You can enter the U.S. up to 30 days before your program starts. Book your flight early to get the best deals and avoid last-minute stress. Once you’ve booked, inform your university of your travel plans.
When you arrive in the U.S., you’ll go through customs and immigration. Keep your passport, visa, Form I-20, SEVIS fee receipt, and financial proof in your carry-on. The Customs and Border Protection (CBP) officer may ask questions about your study plans, so be prepared to answer confidently.
Note: After clearing customs, report to your school’s Designated School Official (DSO) immediately to validate your SEVIS record.
If your visa application is denied, it’s important to understand why.
Common reasons include:
Don’t lose hope if your visa is denied.
Here’s what you can do:
Tip: Show strong ties to your home country, like family, property, or job prospects, to strengthen your case during reapplication.
By following these steps, you’ll be well-prepared to finalize your journey to the U.S. and begin your academic adventure.
Starting your application process early gives you plenty of time to gather documents, prepare for the visa interview, and address any unexpected issues. Create a checklist of all the steps you need to complete, from paying the SEVIS fee to scheduling your interview. Staying organized will help you avoid last-minute stress.
Here’s how you can stay on top of things:
Tip: Always keep your SEVIS information updated. Report any changes to your school’s international student office to avoid complications.
Errors on your forms or missing documents can delay your application or even lead to rejection. Double-check everything before submitting. Ensure your DS-160 form matches the details on your passport and Form I-20. Review your financial documents to confirm they clearly demonstrate your ability to cover tuition and living expenses.
Note: Once you submit the DS-160 form, you can’t make changes. If you spot an error, you’ll need to fill out a new form.
Missing deadlines is one of the most common mistakes applicants make. Start your application process early to avoid this. Keep track of important dates, like when to schedule and attend a US student visa interview or when your program begins.
Tip: Set reminders on your phone or calendar to stay on schedule.
Incomplete or incorrect information can raise red flags during your application process. For example, inconsistent financial documents or errors on your DS-160 form can lead to delays or rejection.
Here’s how to avoid these mistakes:
Reminder: Visa officers want to see that you’re prepared and serious about your studies. Double-check everything to make a strong impression.
By following these tips and avoiding common mistakes, you’ll increase your chances of successfully obtaining your F1 visa and starting your academic journey in the U.S.
Applying for a U.S. student visa might seem like a big task, but breaking it into smaller steps makes it manageable. Start by gathering essential documents like your passport, SEVIS I-20 form, and financial proof. Prepare for your visa interview by practicing answers to common questions and reviewing all requirements. Dressing professionally and arriving early for your interview can also make a great impression.
Remember, your main goal is to study, so focus on showing your genuine intent. Be honest throughout the process and ensure all your paperwork is complete. Starting early and staying organized will save you from last-minute stress. With proper preparation, you’ll be on your way to studying in the U.S. and achieving your academic dreams!
Tip: Always keep your documents ready and practice explaining your study plans clearly. This preparation can boost your confidence and chances of success.
The SEVIS fee supports the Student and Exchange Visitor Information System. You must pay it to register your student status in the U.S. immigration system. Without this payment, you can’t proceed with your visa application or attend your interview.
No, you can’t. The I-20 form proves your acceptance into a SEVP-approved school. It’s a mandatory document for your visa application and interview. Make sure all details on the form are accurate before submitting your application.
You can apply up to 12 months before your program starts. Starting early gives you time to gather documents, prepare for the interview, and address any issues. Don’t wait until the last minute to avoid unnecessary stress.
If denied, the consular officer will explain why. Address the issue, gather stronger evidence, and reapply. For example, if financial proof was insufficient, provide updated bank statements or sponsorship letters. Stay positive and prepare thoroughly for your next interview.
Yes, but only under specific conditions. You can work part-time on campus for up to 20 hours per week during the semester. During breaks, you may work full-time. Always check with your school’s Designated School Official (DSO) before starting any job.
Tip: Follow AEOC’s expert guidance to simplify your visa process. Visit AEOC for personalized support and resources.